Reading Time: 2 min
One of the benefits of living in my Airstream for a while before doing any renovations is that I know exactly what really bothers me and what doesn’t. One thing that really, truly bothers me is the harsh, sterile lighting lent to the space by the standard RV LED lights. Luckily, I found a quick, cheap solution that turned my harsh, glaring lights into soft, illuminating ones in a snap: gel lighting filter sheets. Here’s a quick guide on how to use these sheets, a staple in the theatre industry, to improve your RV’s lighting.
Step 1: Order your preferred amber gel sheets.
The awesome thing about gel lighting filter sheets is that you have a ton of options in terms of hue and opacity. I recommend choosing a sheet that is lighter so you don’t darken up your space too much. Also beware that any color you choose will be intensified in the small space. I made the mistake of choosing too red of a sheet at first.
Pro tip: I recommend this yellow-amber sheet for a warm white light. One 20”x24” sheet covered all 12 of my individual interior lights.

The red in my first gel sheet was intensified a lot, while the yellow-amber tone in my final choice was much more subtle.
Step 2: Remove LED light covers.
The next step is to go through your RV and remove the LED light covers from all your lights. If your lights are like mine, all you have to do is pinch the middle of the cover until it pops off.
Pro tip: if you’re doing this in the cold, leave the lights on for a few minutes before you try removing the covers.
Step 3: Cut gel sheets to size.
Use the removed covers to cut the gel sheets to size. The goal is to have them sit between the lights themselves and the inside of the cover.
Pro tip: Use the tissue paper backing on the gel sheet to trace out the cover and cut slightly within your lines so the sheet fits on the inside of the cover. If your gel sheet didn’t come with tissue paper, secure a sheet of paper on the gel sheet and use this to trace.
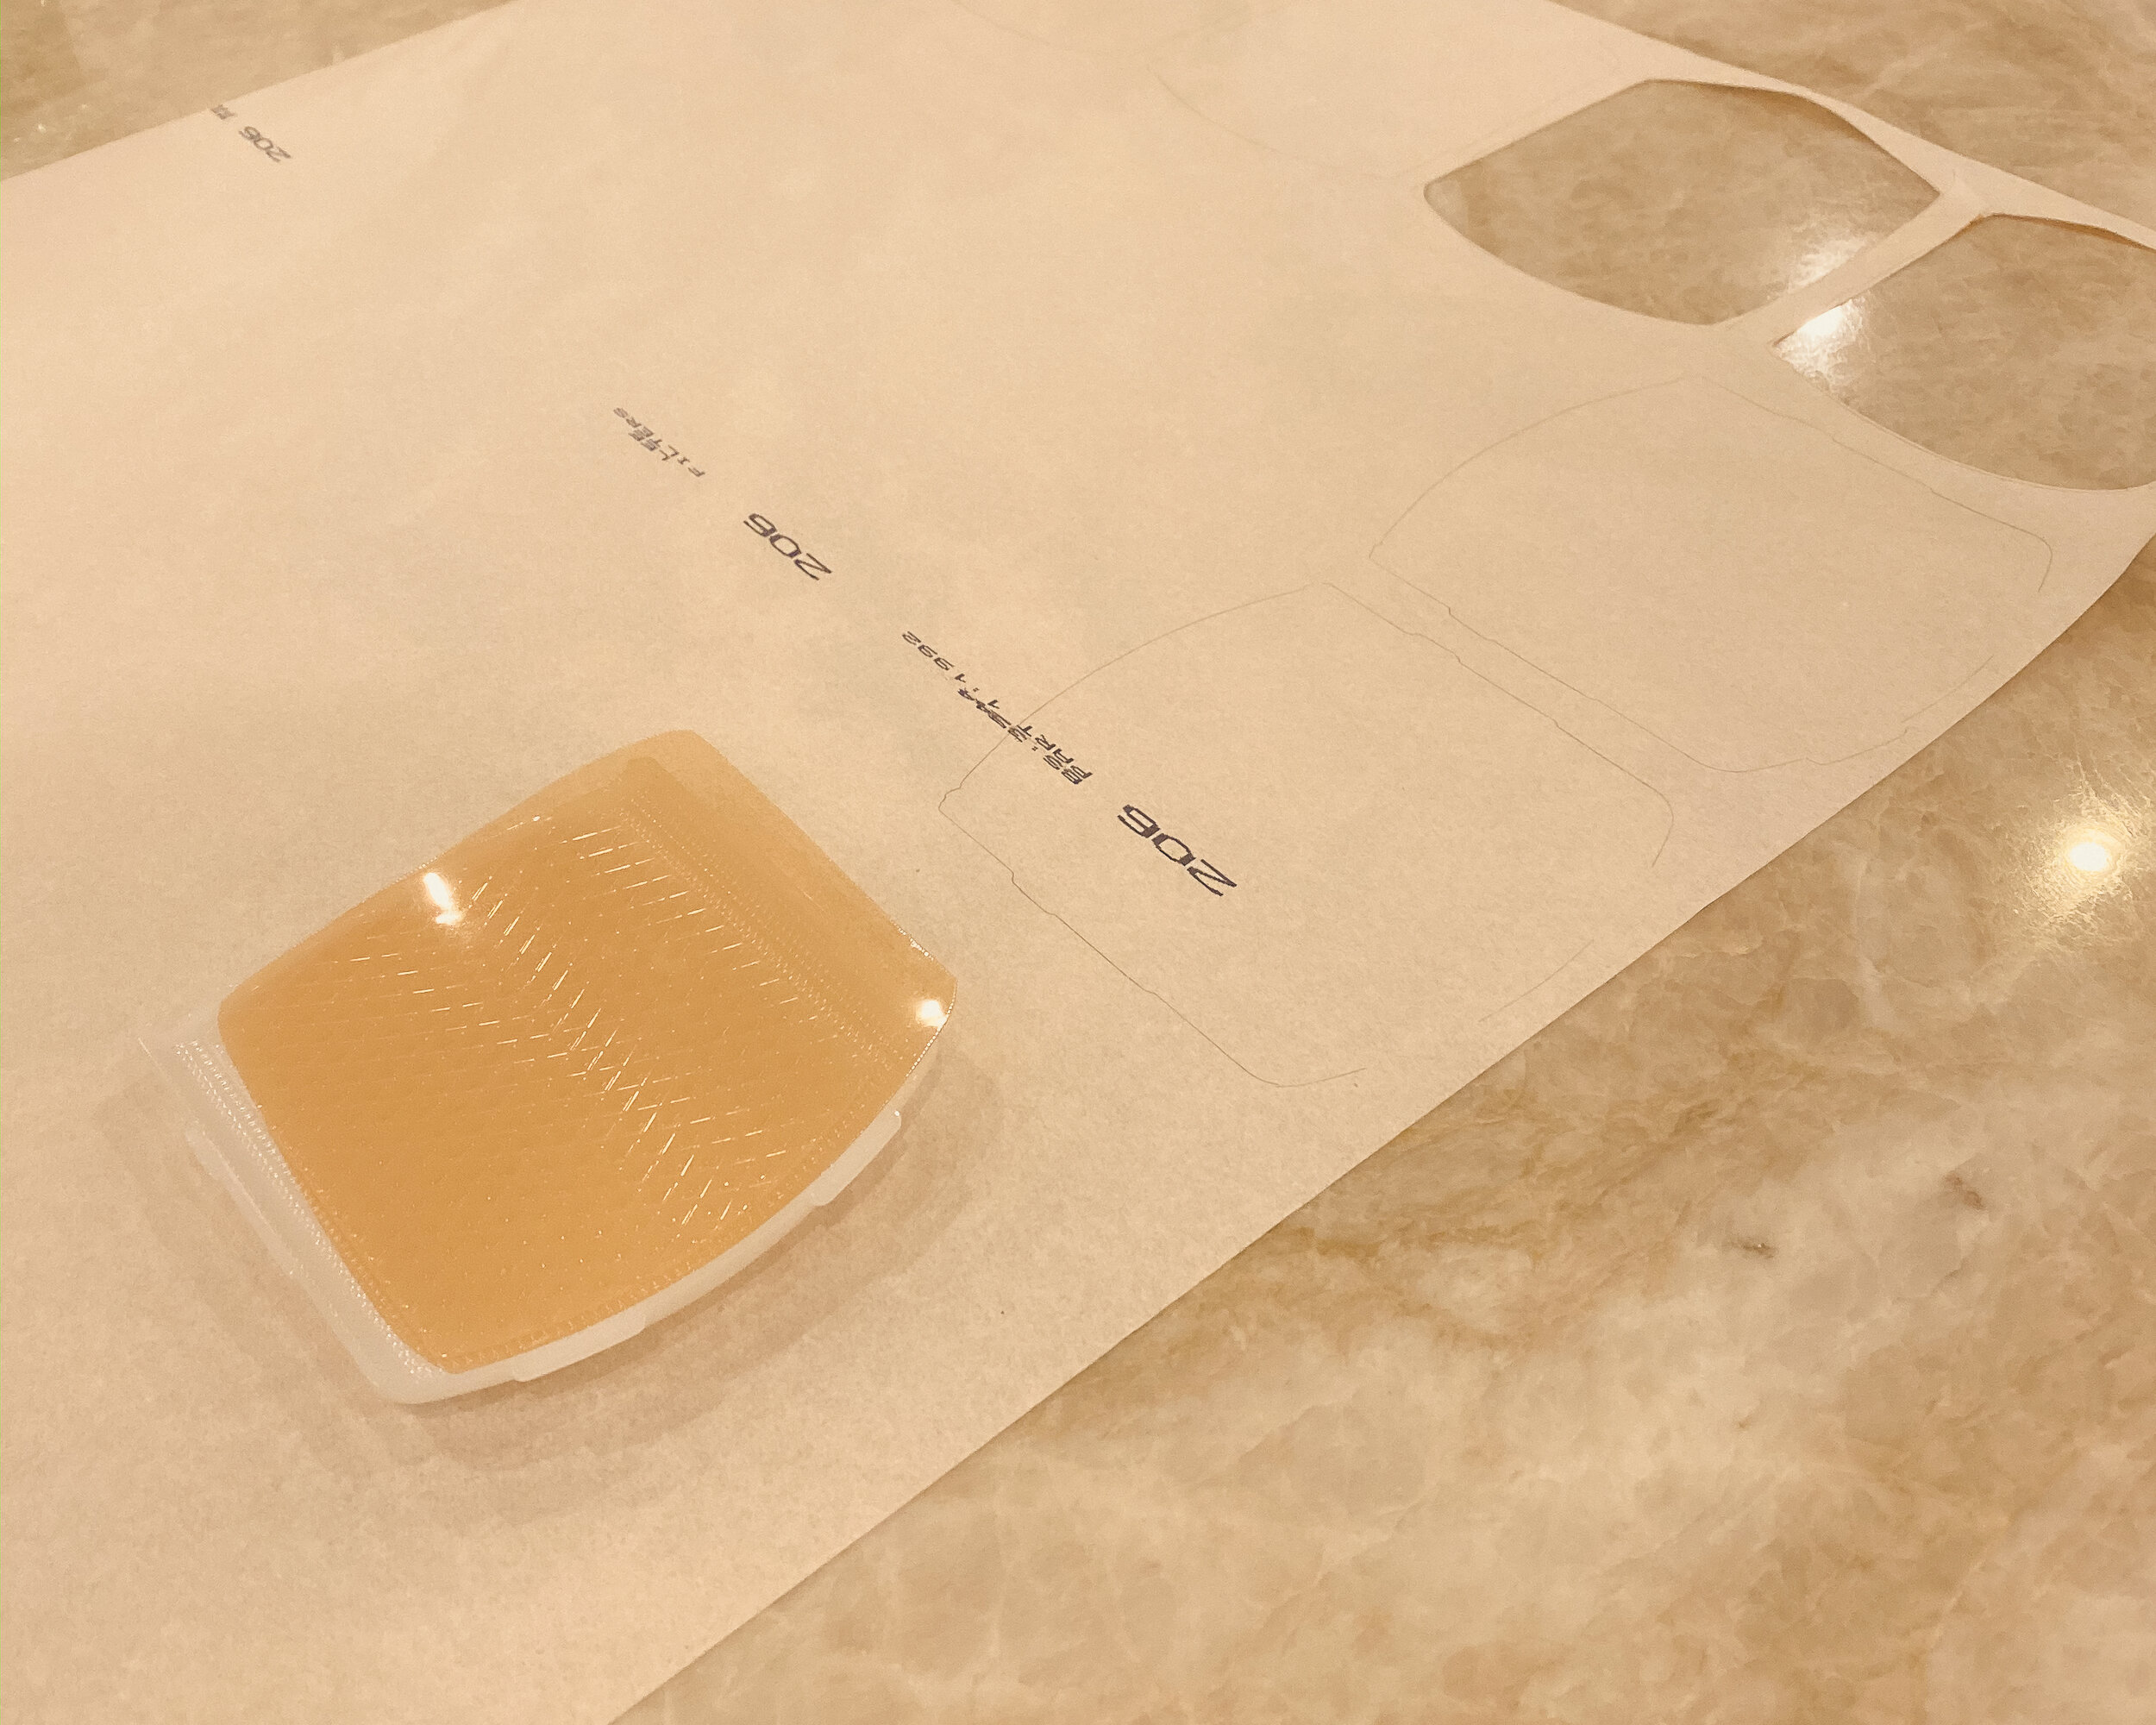
Tracing and replacing the gel sheets with the cover.
Step 4: Replace light covers with gel sheets.
Place the gel sheet on the inside of the cover and pop it back into place. And you’re done!
Pro tip: Err on the side of too much gel sheet—as long as you can still pop it back into place. Any gaps around the edges of your cover will show a glaring line between the filtered and unfiltered light.

The original lights on the left are stark and harsh and can end up driving you a little bit crazy. The lights on the right have a gel lighting filter sheet to soften up the light and give it a warmer tone. Note the drastic difference in the reflection of the lights above.